If a user accesses the same Share frequently from Windows, it will be convenient to map the Share as a Network Drive. Once done, the Share appears as a drive on the user's Desktop whenever logged onto the Desktop. A share can be mapped onto a drive as follows:
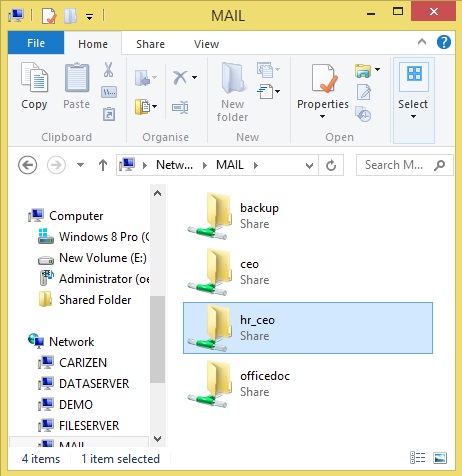
- Using Windows Explorer navigate to the Share to be mapped. You may refer to the section Network-Windows 8 on how to do the same. The Share will be displayed in the Windows Explorer window (as shown in the image below)
- Right click on the Share to be mapped
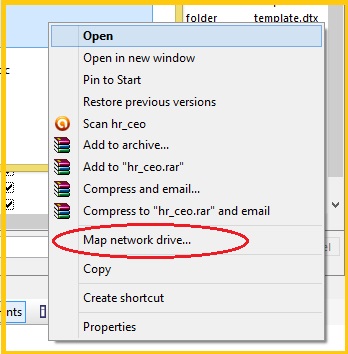
- The following menu comes up. Click on Map Network Drive (indicated by the red oval)
- That will bring up the following window.
- To make sure that the mapping persists across logins (even after an user logs in after a shutdown), choose Reconnect at sign-in option (indicated by the red oval).

- Click on Finish.
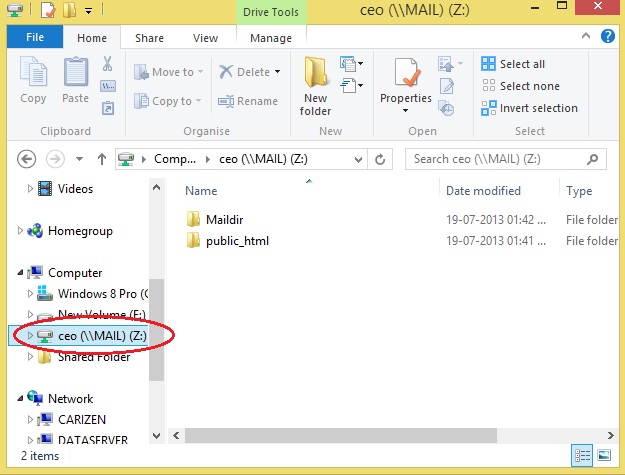
- The Share will be mapped to the specified drive and will appear in Windows Explorer (as indicated by the red oval). The list of folders/files in the Share is displayed in the right side panel. Files can be transferred to/from the Server using standard Windows file operations (Drag/drop, etc.)