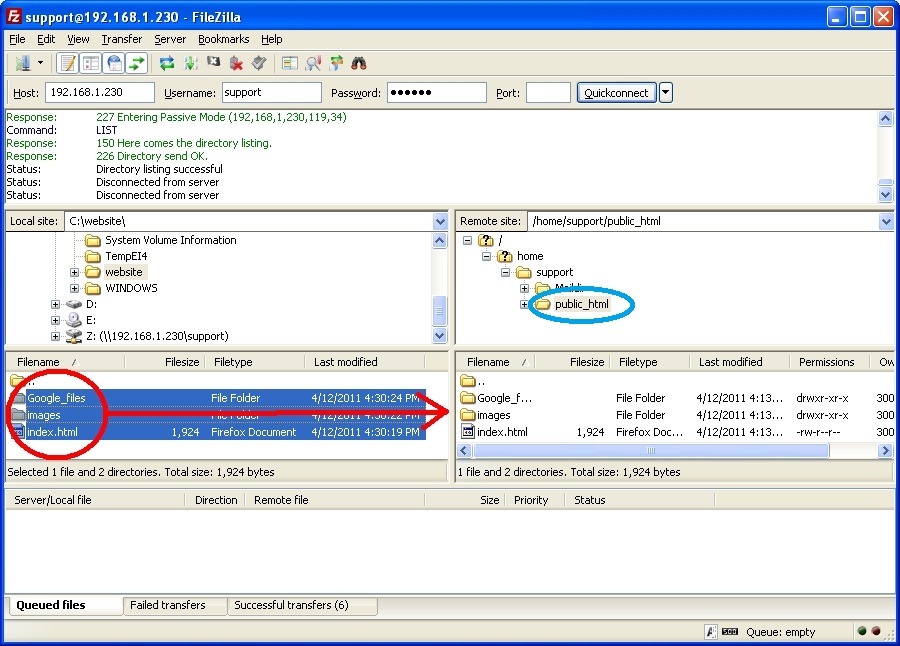
Rainmail Web Server facility is available only when Rainmail Administrator has explicitly enabled the facility for specific user. Therefore, before proceeding with the following steps, check with your Rainmail Administrator whether the facility has been enabled for you. If not, please ask the Administrator to enable this facility. Once enabled, web-pages can be uploaded as per the following instructions.
 here. Once installed, the FileZilla icon will appear on your Desktop (as shown below)
![]()

.
|
Copyright (c) 1999-2014. Carizen Software (P) Ltd. All rights reserved.
|
|
What do you think about this topic? Send feedback!
|